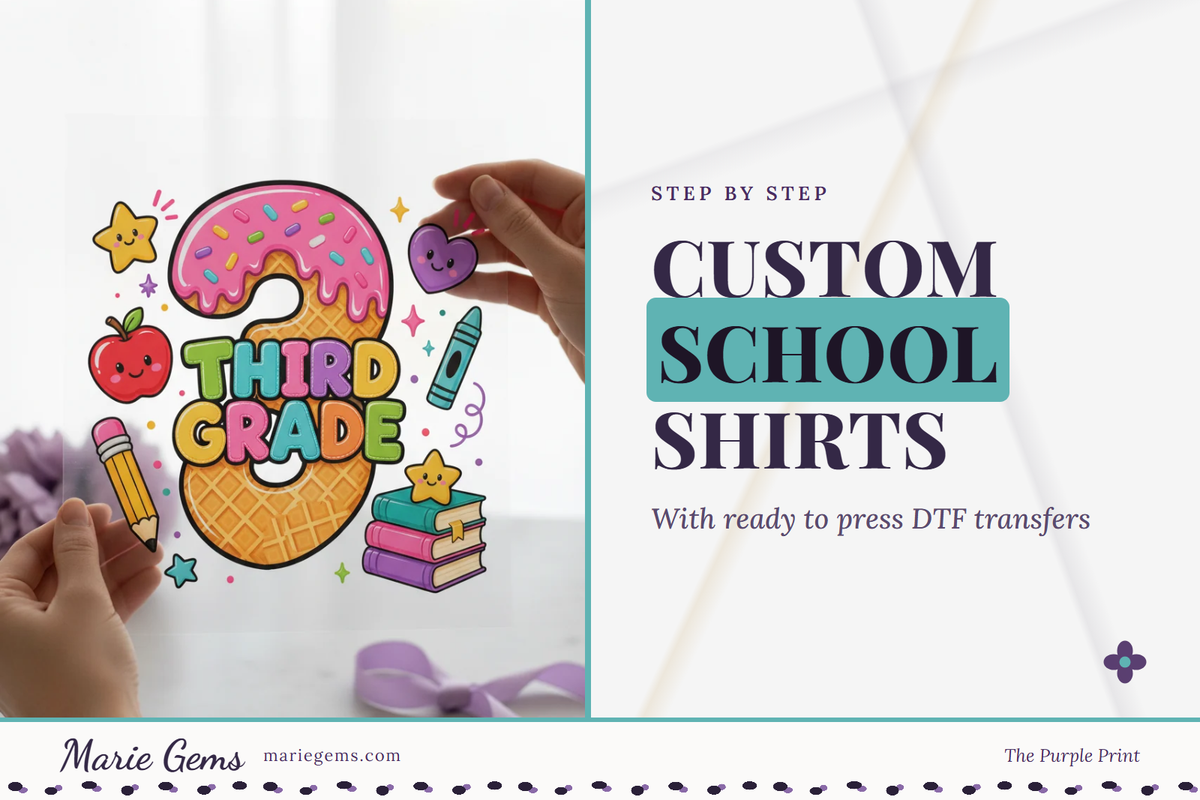
To make custom school shirts with ready-to-press DTF transfers, you pick a design (or upload your own), choose a transfer size for each shirt, order the quantity you need, then press each one at 320°F for 15 seconds and cold peel. You don't need a printer, a gang sheet or a minimum order, so it works for one shirt for your kid or a whole class set. Here's how I'd do it, step by step.
I run Marie Gems, a DTF transfer shop in Wichita, Kansas, and I'm a mom of seven. Spirit days, field trips, a teacher who wants her whole team to match: that's exactly the kind of project ready-to-press transfers are made for.
What you'll need
- Blank shirts that can handle heat and pressure. Check the label if you're not sure about the fabric.
- A heat press that gives even temperature and pressure.
- Ready-to-press DTF transfers in the sizes you need.
- A heat press cover. I'll tell you why in Step 5.
If you're still putting your pressing setup together, the heat press, heat press pillows, PTFE sheets, heat tape and a T-shirt alignment ruler I recommend are all on my heat press and sublimation supply list on Amazon. The alignment ruler helps a lot with school shirts, because it gets the design in the same spot on every shirt in the stack. (That's an affiliate link. As an Amazon Associate, I earn from qualifying purchases at no extra cost to you.)
Step 1: Pick your design or upload your own
You have two routes. You can shop an existing design: my teacher and school DTF transfers, my back-to-school designs by grade, or the Class of 2027 DTF transfers for seniors.
Or you can upload your own artwork and I'll turn it into a ready-to-press DTF transfer. Send the highest-resolution file you have, because a sharp file makes a sharp transfer. One important thing for school shirts: only send artwork you have the right to use. A school's logo or mascot usually belongs to the school, so get permission before you upload it. Your own design, your class's inside joke or a drawing your kid made are all fair game.
Step 2: Choose the right size for each shirt
This is where school shirts get tricky, because you're usually sizing for both kids and adults. From my size guide:
- 6": medium designs, youth apparel, smaller shirt placements.
- 8": larger youth designs and many adult apparel projects.
- 10": popular for adult shirt-front designs.
- 12": full-size option for larger adult shirts.
- 4": chest placements and small graphics, like a left-chest logo.
For a class set, I'd go 6" or 8" for the kids and 10" for the teachers and chaperones. The size is the design's longest side, and the artwork keeps its own shape.
Step 3: Order the quantity you actually need
Every transfer comes in packs of 1, 5, 10 or 20, and there's no minimum. So you can order one for your kid's spirit day, or 20 for the whole class. The bigger packs bring the price per transfer down, and a 20-pack of 4" transfers works out to $1.60 each. If you're mixing kid and adult sizes, just order each size separately.
Step 4: Prep your blanks
Lay each shirt flat on the press and smooth out wrinkles. Whatever is under the transfer when you press is what shows up in the finished design. If you're doing a stack of shirts, set up an assembly line: shirts in one pile, transfers sorted by size in another.
Step 5: Press at 320°F for 15 seconds
Place the transfer where you want it, design side down, and press at 320°F for 15 seconds with firm, even pressure. This is where the heat press cover comes in. I finally caved and got the heat press cover everyone kept telling me to get, because I was over reprinting stuff that scorched. I should have listened months earlier. When you're pressing 20 shirts the night before a field trip, you don't want to redo any of them.
Step 6: Let it cool, then cold peel
Let each transfer cool completely before you peel the film. Peeling warm is the fastest way to lift part of the design. Once it's cool, peel slowly and smoothly. If your first shirt doesn't look right, stop and message me before you press the rest. My pressing guide says it plainly: ask before you press more.
How long does it take to make a class set?
The press time is 15 seconds a shirt. The real time goes into sorting sizes, positioning each transfer and waiting for each one to cool before you peel. Give yourself an evening for a full class, not an hour before the bus comes.
Want more ideas?
My back-to-school shirt designs by grade guide has design ideas for every grade. If you're brand new to pressing, start with how to apply a DTF transfer at home.